
By Sil, founder of Spores Worldwide · prepared in our Ottawa lab · Updated October 2026 · For microscopy and taxonomy research only.
A spore print is the deposit of spores a mushroom drops onto a surface beneath its cap. Mycologists use spore prints to help identify mushrooms, because spore colour is a key identification feature. Prints are also the starting point for preparing spores for the microscope. This guide explains how to make a spore print from a mushroom cap, how to read its colour, and how to take spores from a print onto a slide.
All of our products are sold for microscopy and taxonomy research only. This guide covers spore prints for identification and microscopy. It doesn’t cover germinating or growing spores.
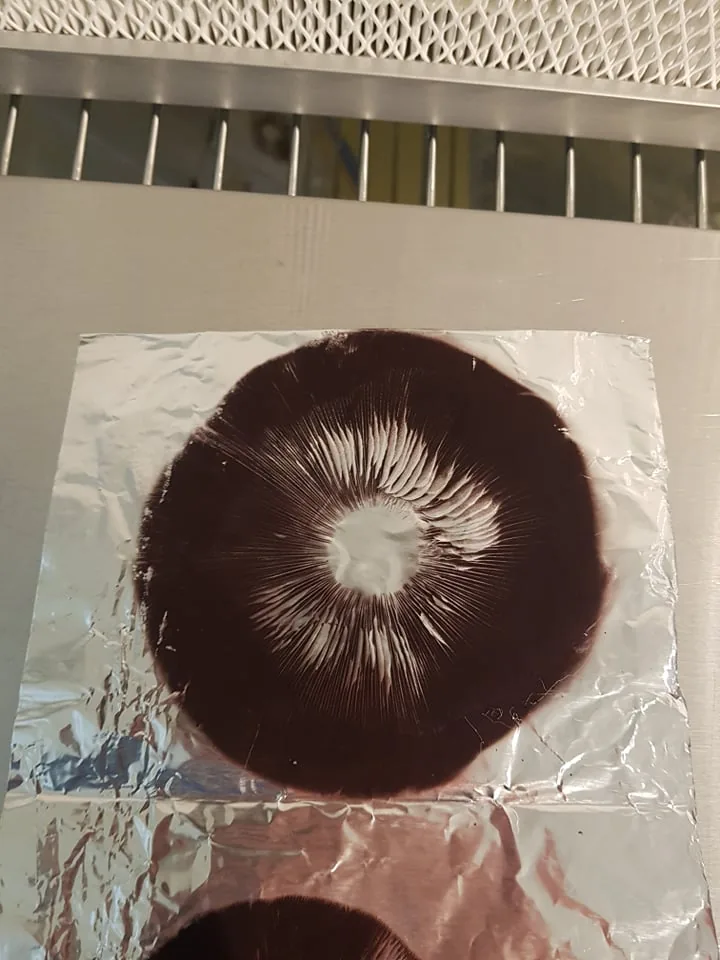
How a spore print forms
Gilled mushrooms produce their spores on the gill surfaces, on microscopic club-shaped cells called basidia. In Psilocybe cubensis these usually carry four spores each, sometimes two or three (Psilocybe cubensis, Wikipedia). Mature spores are released and fall from the gills. If the cap sits still over a surface, they land in a pattern that mirrors the gills.
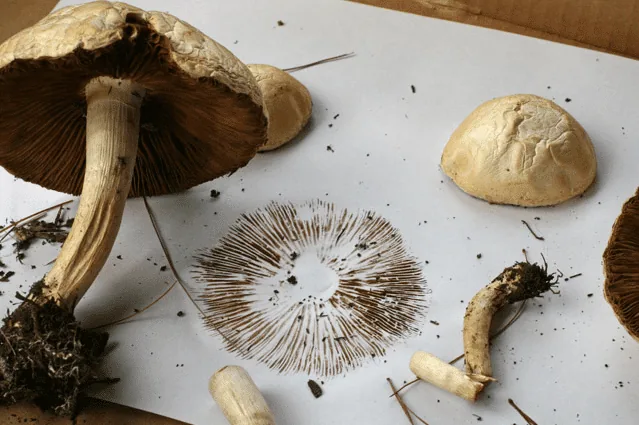
What you need
- A mature mushroom cap with the gills exposed. For practice, a store-bought mushroom whose cap has opened works well.
- A surface: aluminium foil, white paper, an index card or a glass microscope slide (NAMA, How to Make a Spore Print). Half-white, half-black paper lets you judge pale and dark spores on the same print.
- A cup or glass to cover the cap.
- A clean knife to remove the stem.
Step by step
- Remove the stem as close to the cap as you can, so the gills can sit flat.
- Place the cap gills-down on your foil, paper or slide.
- Add a drop of water to the top of the cap to help release the spores (NAMA).
- Cover it with a cup or glass so air currents don’t scatter the spores.
- Wait 2–24 hours, depending on humidity and how fresh the mushroom is (NAMA). Overnight is common (Spore print, Wikipedia).
- Lift the cap straight up so you don’t smudge the pattern.
- Let the print dry, then fold the foil or paper over it and seal it in a labelled bag.
Reading the colour
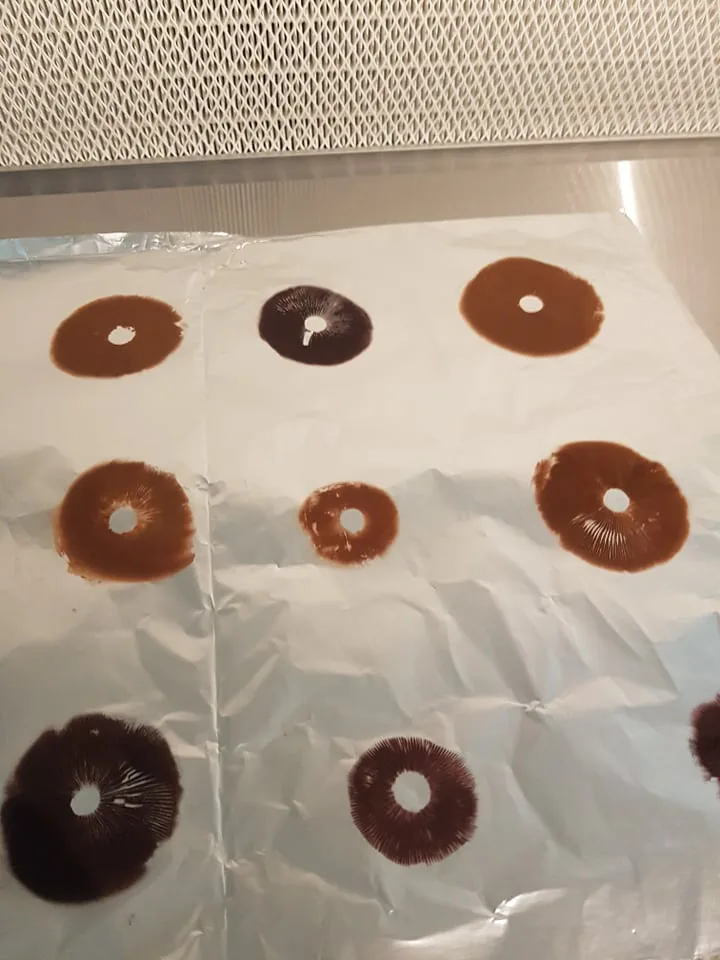
Spore prints are usually white to cream, black, or shades of red, purple or brown (Spore print, Wikipedia). P. cubensis prints are purple to purple-brown (Psilocybe cubensis, Wikipedia). Three things to keep in mind:
- Thickness changes the colour you see. A thin deposit looks lighter than a dense one from the same mushroom.
- Gill colour isn’t a reliable guide to spore colour (Spore print, Wikipedia).
- A spore print can’t identify a mushroom on its own. It’s one characteristic among many (Spore print, Wikipedia). Never rely on it to decide whether a wild mushroom is safe.
From print to microscope slide
- Place a small drop of clean water on a slide.
- With a clean blade or toothpick, lift a tiny amount of spores from the edge of the print. You need far less than you’d think.
- Stir it into the drop, add a cover slip at an angle, and start at 100× before moving up to 400×.
- Reseal the print straight away and return it to storage.
Ready-made prints
If you’d rather start with a finished print, our spore prints are collected and sealed on foil in our Ottawa lab, for example Golden Teacher, Blue Meanie and B+. For spores already suspended in water, see our spore syringes.
Frequently asked questions
How long does a spore print take?
Usually between 2 and 24 hours, depending on humidity and how fresh the mushroom is. Many people leave the cap overnight.
What colour is a Psilocybe cubensis spore print?
Purple to dark purple-brown. Thin deposits look lighter than dense ones from the same mushroom.
Should I use paper, foil or glass?
All three work. Paper makes the colour easy to judge (half white, half black is ideal), foil folds and seals neatly for storage, and a glass slide lets you look straight under the microscope.
Why is my spore print faint or empty?
The cap may not be mature enough, or it may be too dry. Try a fresher cap with fully exposed gills, add a drop of water on top, and leave it covered for longer.
Can I identify a mushroom from its spore print?
Not on its own. Spore colour is one identification feature among many. Never use a spore print alone to decide whether a wild mushroom is safe.